I wanted to take what I learned from Pat Hardie a few weeks ago and do a smaller version of it. So yesterday I snow dyed some smaller piece of white cotton a little larger than a quarter yard. Here are the two pieces of fabric presoaked in soda ash solution, wrung out, scrunched up and put in some produce containers.
Here they are with about an inch of snow put on top of each.
Here are the dye solutions ready to spoon onto the snow. They are Procion Mx dyes carefully mixed with water. The colours don't look the way they finish up. I have black here, scarlet, grass green and golden yellow.
Next I dribbled the dyes onto the snow with the spoons. I used black, golden yellow and scarlet in the top one and black, golden yellow and grass green in the second. I covered the containers and put them into the garage overnight.
The next morning they looked like this.
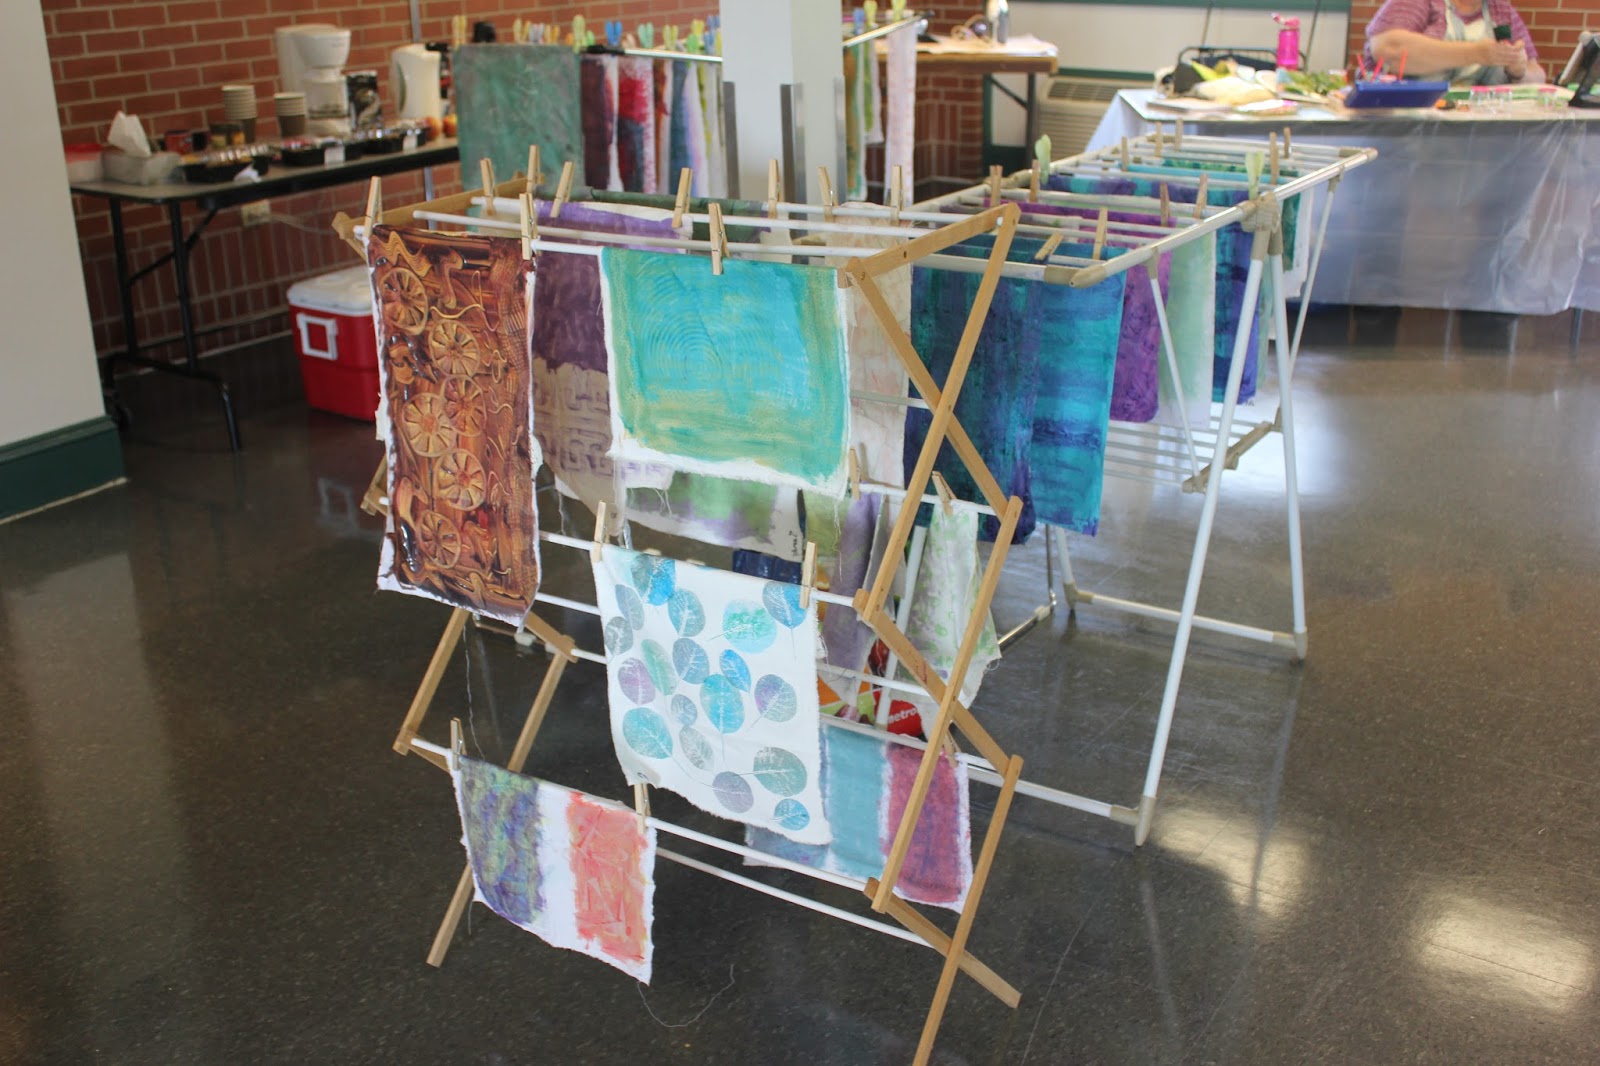
I put them inside because they needed to finish melting. I rinsed and washed the fabrics. I hung them to dry and ironed them. Here are the results! I'm happy with them. They do look a little different than the fabric I dyed a few weeks ago. I'm grateful to Pat for showing me this fun technique. A great winter activity while I wait for spring to come. Thanks for stopping by.